Install Unity and create your first scene
In this first chapter you will find some very basic informations: first, the download and installation of Unity, then the preparation of the first scene of our game.
Set up your environment
We start by the easy part: downloading and configuring Unity.

Install Unity
Download the latest release from the official website.
Launch the executable and everything will be properly install.
Choose a code editor
Unity is bundled with MonoDevelop (4.0.1 as of today) to edit code.
Windows
If you are on Windows you can (and should) use an alternative:
- Visual Studio Community 2013 for Windows
Likewise: download and install, it’s simple as everything is bundled, though it might take a little time. Then, in the Unity preferences, change your default editor to Visual Studio.
Good to know: it’s possible to use the Visual Studio 2013 debugger with Unity. You need to download and install the UnityVS plugin. Simply follow their documentation to add the UnityVS to your Unity project (you need to do this for every project).
macOS
MonoDevelop (or its cousin Xamarin Studio) is packaged with your Unity installation, and is the default option. It’s a full blown IDE like Visual Studio or Xcode. Well, it tries, at least.
Matthieu: to be honest, MonoDevelop is not great. I didn’t try the few last versions so I might be wrong, but you will be probably better with something else. See below.
If you are ready to tinker a bit, use Sublime Text with Omnisharp or the new Visual Studio Code.
Which language ?
Unity allows you to code in three languages : JavaScript (UnityScript), C# and Boo.
We highly recommend that you use C#. It’s more powerful and less error-prone. Moreover, this tutorial is written in C#.
What if I am a total Unity newbie?
If you are totally new to Unity, we will do our best to explain it as much as we can in this tutorial.
Learning to use the main interface of Unity is relatively easy. You might be scared the first time you open the software, but it is just a matter of hours to be comfortable with it.
Here are some other resources that we find interesting and that should complete us on this subject:
- Official Unity editor tutorials: The official videos are great. You should take an afternoon to watch them all — we guarantee you that you will not lose your time.
The first scene
Let’s start Unity. The first thing you will see is the project manager dialog.
Create a new project
Create a new project with the name and location you wish.
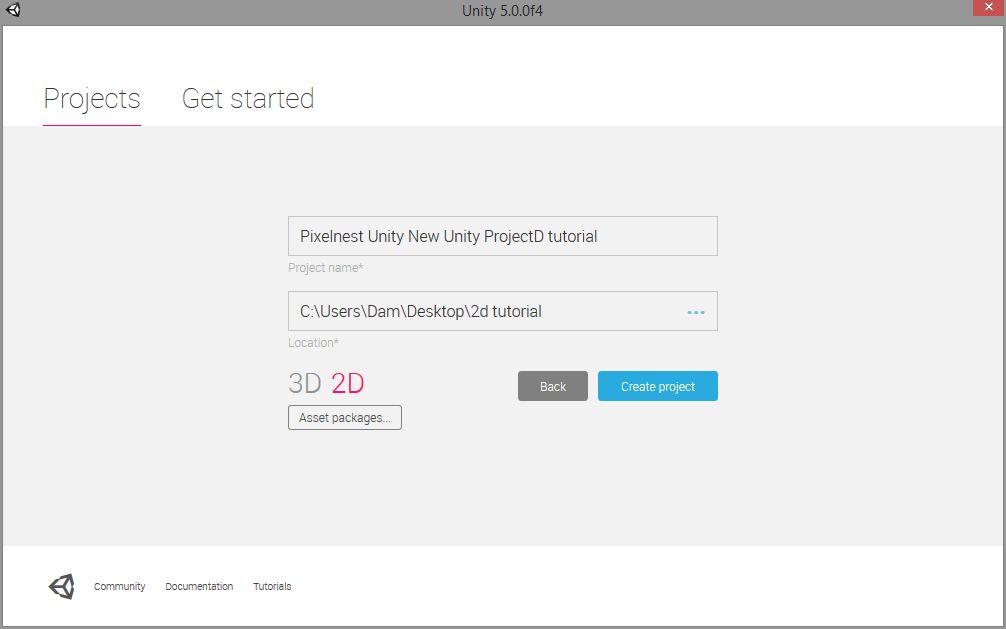
Select the 2D settings. You can change this flag in the project settings later.
Do not worry about the name. The final product name is defined in the options (“Player Settings”).
Prepare the project
As Damien explained in another tutorial, if you plan to use Git or SVN, the first thing you need to do is to enable some obscure settings for team collaboration.
Instead of writing what he have already written before, just check the tutorial if you are interested. :)
Unity layout and panels
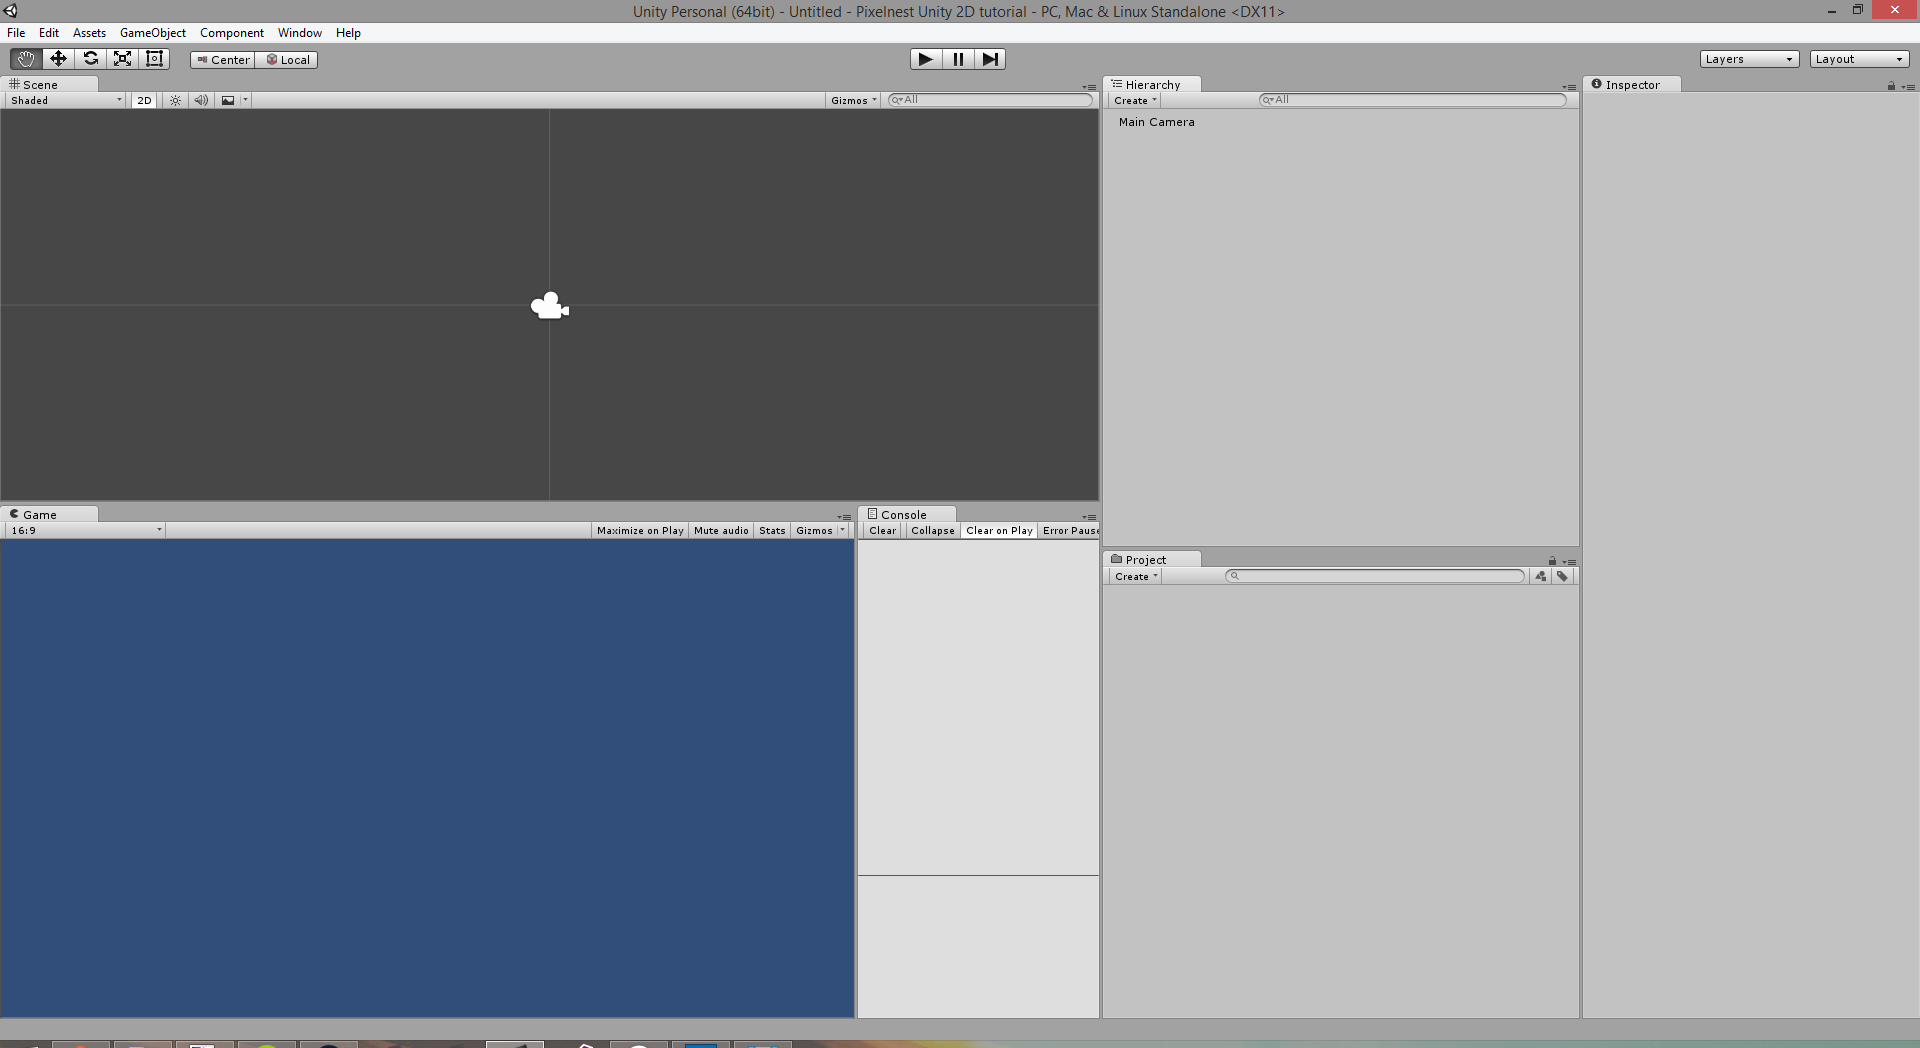
You now face a nice empty scene. Here is the layout we are using, but you should take some times to personalize the interface to your needs. I (Damien) personally like to have the console next to the game view, but if you have a small screen you may use tabs instead of panels.
Before jumping into the game creation, take a few minutes to organize your project and scenes.
We advise to create folders in the Unity “Project” pane to organize your stuffs. These folders will technically be created in the Assets folder of your project.
Note: the “Assets” folder is the superfolder containing everything you add in the “Project” pane. It may not be visible inside Unity, depending on the selected layout for the pane (One-column or Two-columns), but if you open your file explorer, you will be able to see it.
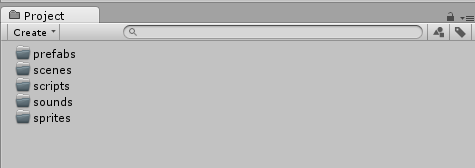
Here is an example of a structure we use for our projects at Pixelnest. You can adapt it to fit your preferences.
Project assets
In your “Project” pane, you can find different types of assets:
Prefabs
Reusable game objects (ex: Bullets, enemies, bonuses).
Prefabs can be seen as a class in a programming language, which can be instantiated into game objects. It’s a mold you can duplicate and change at will in the scene or during the game execution.
Scenes
A scene is basically a level or a menu.
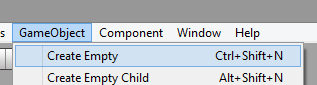
Contrary to the other objects you create in the “Project” pane, scenes are created with the “File” menu. If you want to create a scene, click on the “New Scene” submenu, then do not forget to save it to the “Scenes” folder.
Scenes need to be manually saved. It’s a classic mistake in Unity to make some changes to a scene and its elements and to forget to save it after. Your version control tool will not see any change until you scene is saved.
Sounds
I guess it’s pretty clear. See if you want to split musics in another folder.
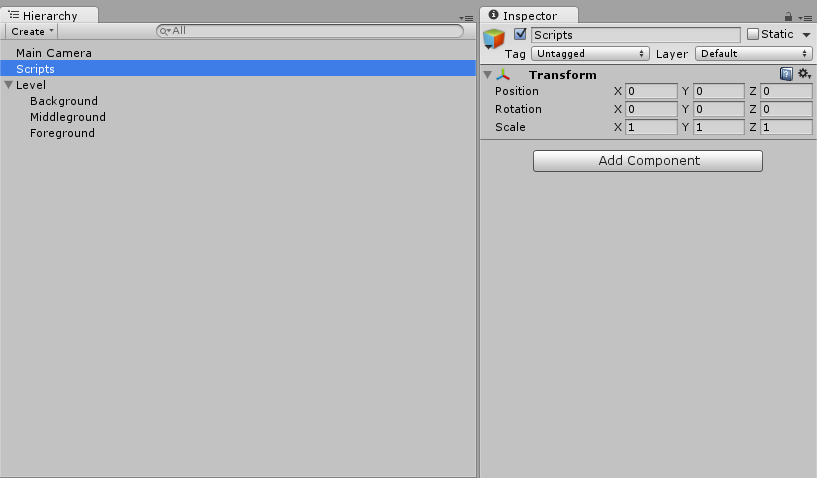
Scripts
All the code goes here. We use this folder as the equivalent of a root folder in a C# project.
Sprites
Sprites are the images of your game. In a 2D project, sprites are textures that can be used by the 2D tools.
Note about the “Resources” folder: if you have already tried Unity before, you may know that “Resources” is a useful and unique folder. It allows you to load an object or a file inside a script (using the static Resources class).
We will not be using it until… nearly the end (in the chapter about menus). So, to simplify, we decided to not include it for now.
Our first game scene
The “Hierarchy” pane contains every object that is available in the scene. This is what you manipulate when you start the game with the “Play” button.
Each object of the scene is a “game object” for Unity. You can create an object on the root of the scene, or as a child of another game object. You can move an object at any time to change its parent.
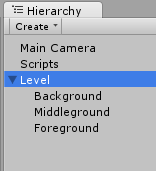
As you can see here, we have 3 children for the Level object.
Empty objects
A trick in Unity is to create an empty game object and use it as a “folder” for other game objects. It will simplify your scene hierarchy.
Make sure they all are at the (0, 0, 0) position so you can track them easily! The position is not important as these empty objects are not using it.
Note: changing the position will affect the children relative position. We will not speak about this topic in this tutorial, so let the position of the empty objects to (0, 0, 0) for the moment.
See those empty objects as purely logical ones.
Filling the scene
By default, a new scene is created with a default Main Camera. Keep it.
For the moment, you will need to create these empty objects :
Scripts: We will add our global scripts here. We use this object to attach the scripts that are not related to an object. For example, we will have a “Game” manager script attached to it.Level
In the Level object, add three empty children :
BackgroundMiddlegroundForeground
Save the scene in the “Scenes” folder. Call it how you want (what about “Stage1”?).
You should have:
Tip: a game object is bounded to its parent position.
This behavior creates a nice side-effect for a camera game object: if a camera is the child of an object, it will track its parent position automatically. If the camera is at the root of the scene or inside an empty game object, the view is fixed. However, if you put the camera inside a moving game object, the camera will follow this object on the scene.
This is a simple way to have the camera following the player, for example.
Next step
We are still far from a game, right?
We have just created the basic structure of our game. In the next step we will start to add fun things: a background and some elements!
