Build, release and deploy
The game is ready. The last thing we have to do is to create an executable that you can distribute. It’s going to be short, because deploying with Unity is (fairly) easy.
Build Settings, Pt. 2
Building is in one window that we have already used.
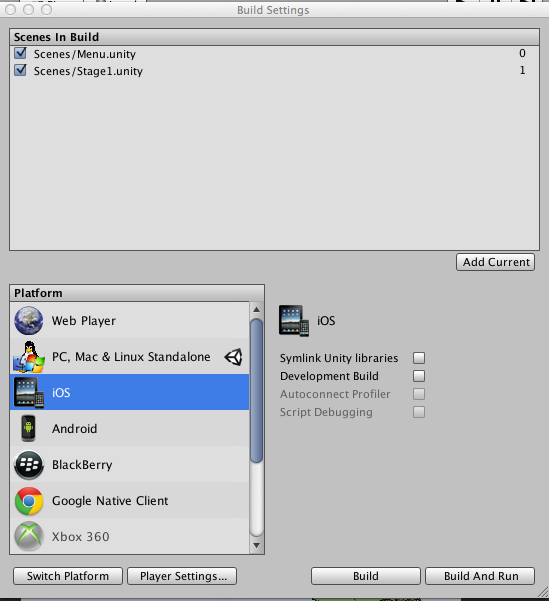
Re-open the “File” -> “Build Settings” window.
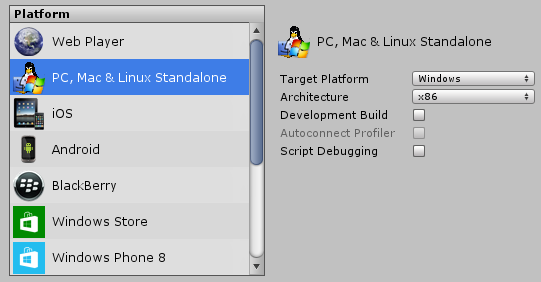
On the left, you can select a platform. This will make the platform settings appears on the right.
Choose the one you want and hit “Build & Run”.
Let’s try with the Web Player:
- Select “Web Player” in “Platform”
- Build the game.
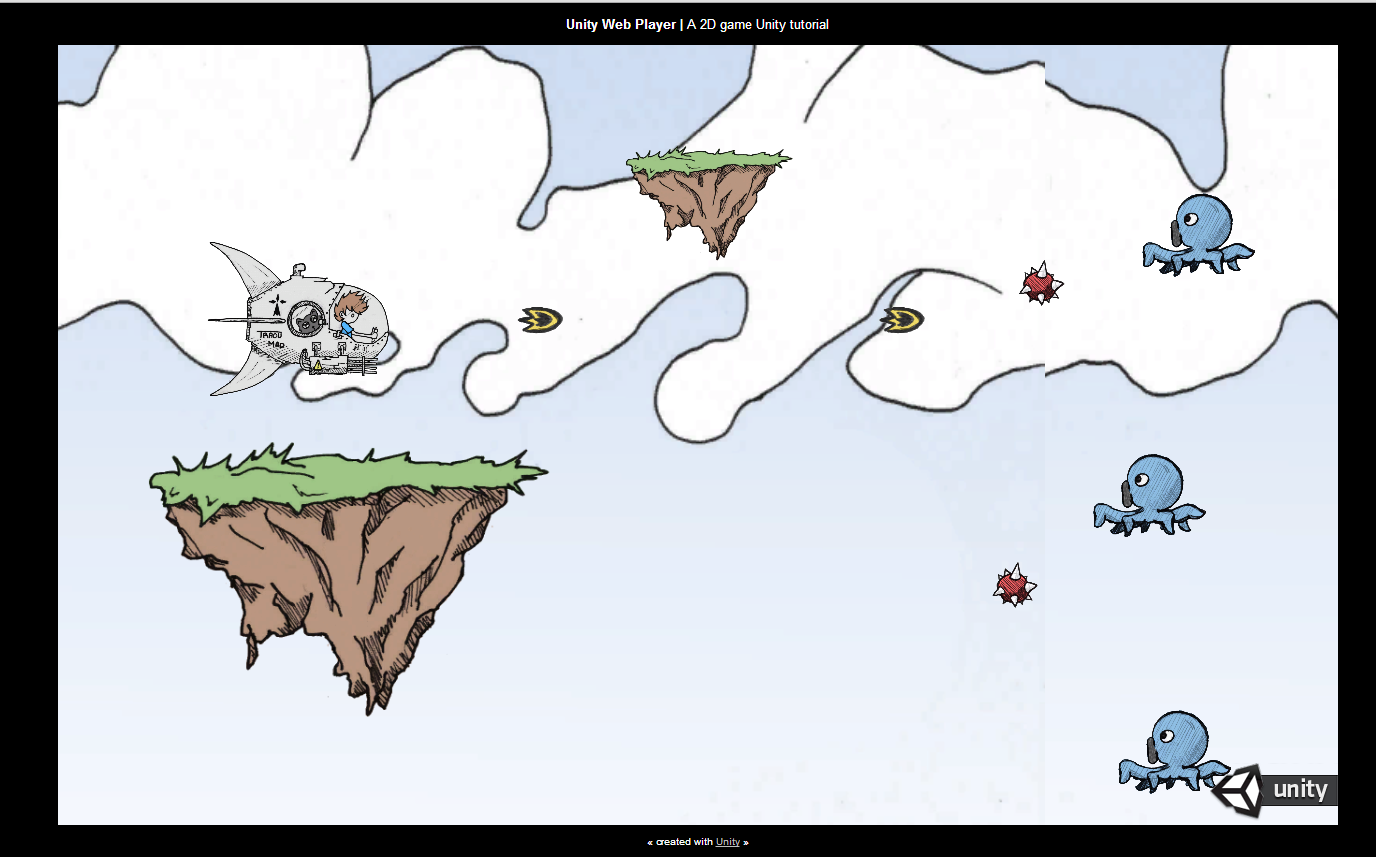
- Observe: it produces an HTML page with the game embedded in.
- Try it.
This is the first and simplest way to distribute your game. You just have to host the two files on a server.
Warning: the Web player is obsolete. But at this time, the WebGL player is not ready (“preview”). So you can use it for your prototypes but it may not work for a full game.
However, make sure to use the WebGL player and not the old Web player once it will be released.
Player Settings
You may need to adjust some settings (like the resolution, the game name or some resources) for a specific platform.
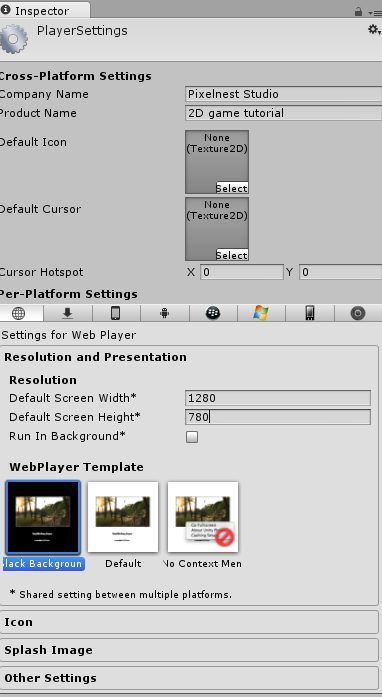
You do that by going to the “Player Settings” panel:
- “File” -> “Build Settings” -> “Player Settings”
Or:
- “Edit” -> “Project Settings” -> “Player”
Here, we set the web player resolution to 1280 * 780:
Deploying on Windows, Mac and Linux
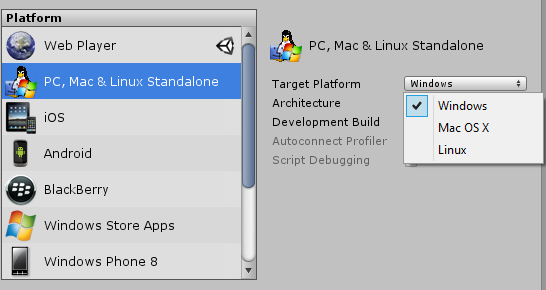
There isn’t much to say about these platforms. By choosing “PC, Mac & Linux Standalone”, you will be able to select a specific operating system to target.
And that’s (almost) all! Unity is really awesome to build and deploy.
Bonus for Mac users: Deploying on iOS
Mobile deployment is a bit more complicated. You need to have the latest SDK (the official development tools) installed for the platform you target.
This also means that you need Mac OS X to release an iOS game.
We are going to look at the procedure for an iOS games. Our guess is that it is very similar for an Android game.
First, select “iOS” in the build window:
Open the “Player settings” view to change a few parameters (minimum SDK, icon, etc.).
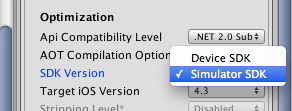
Tip: if you want to test on a simulator, there’s a trick. In the iOS “Player Settings”, find the “SDK version” field. Then choose “Simulator SDK”:
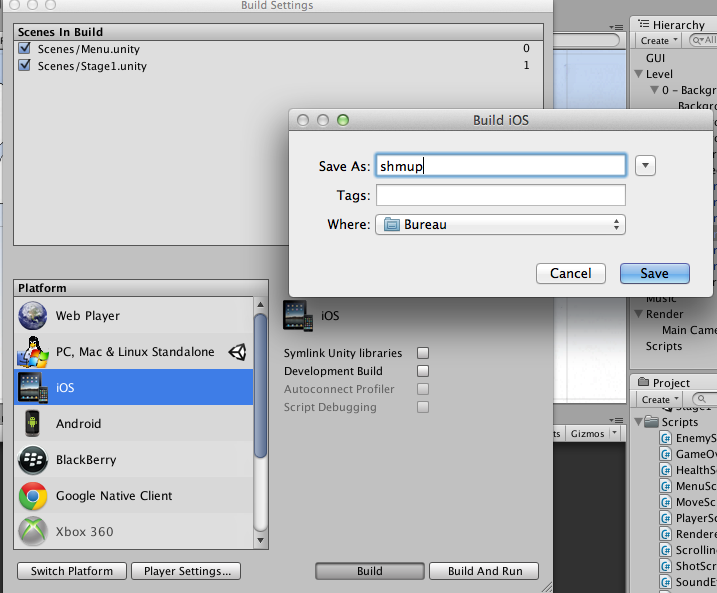
Build the project. Unity will prompt you to choose a location:
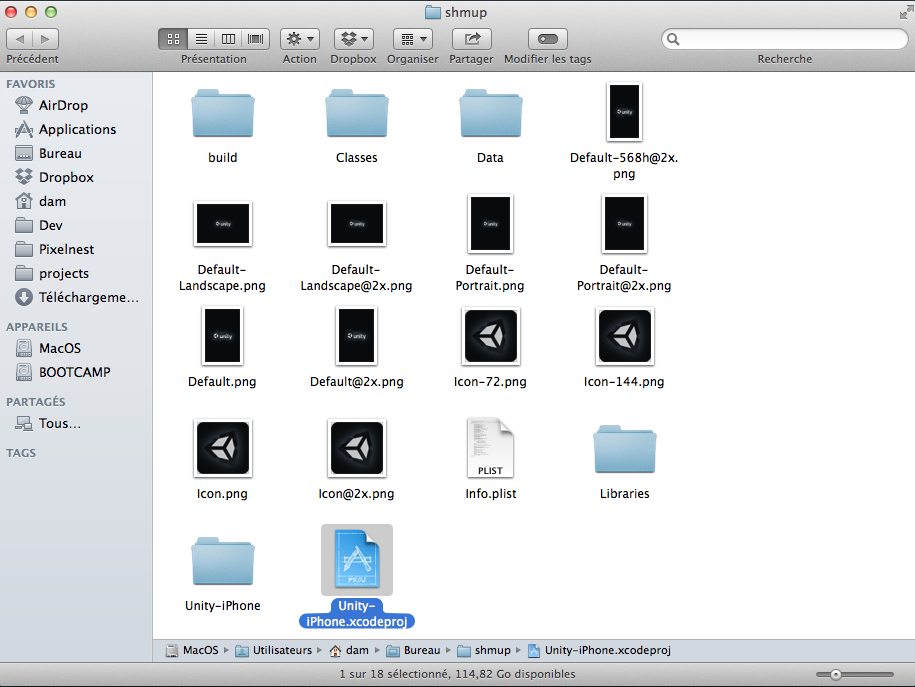
In fact, Unity has generated an Xcode project:
That’s why you really need to have all the development tools installed, otherwise you won’t be able to even launch the project on an iOS device or simulator.
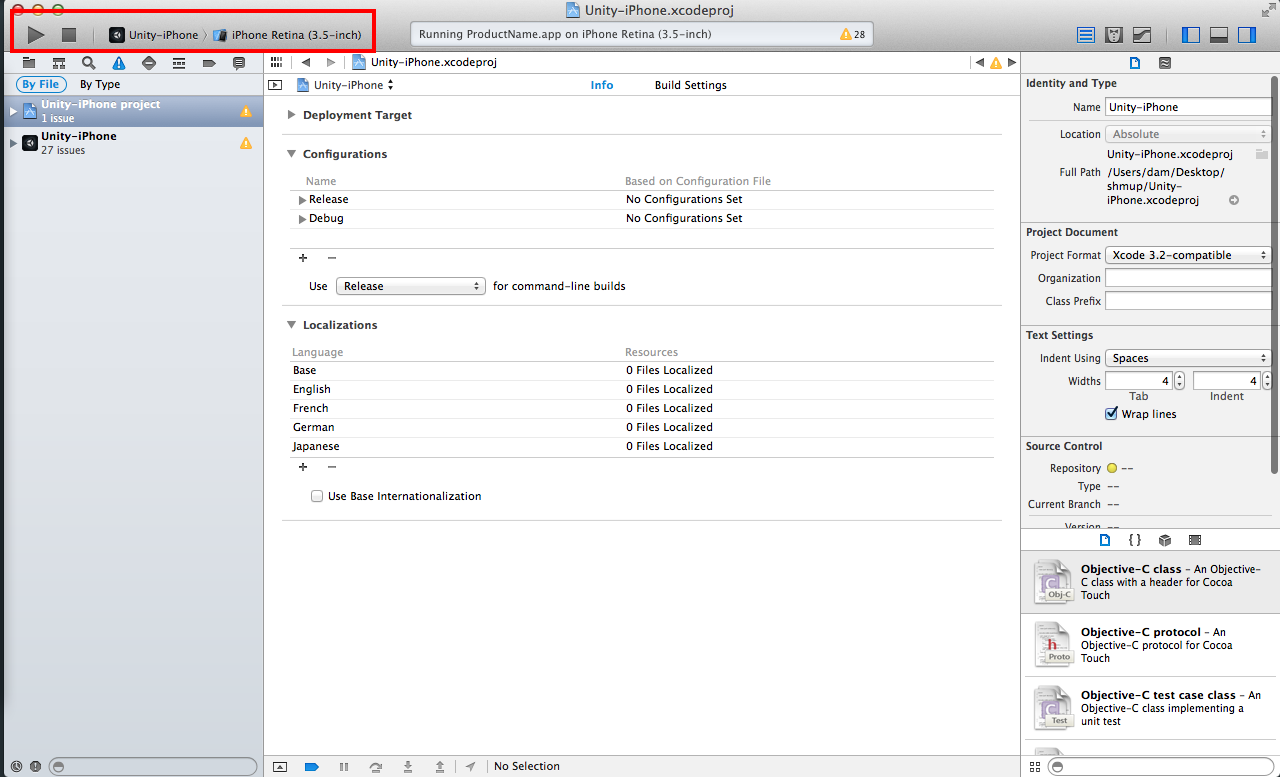
Open the .xcodeproj file with Xcode. Fortunately, we don’t have much to do now, except launching the project:
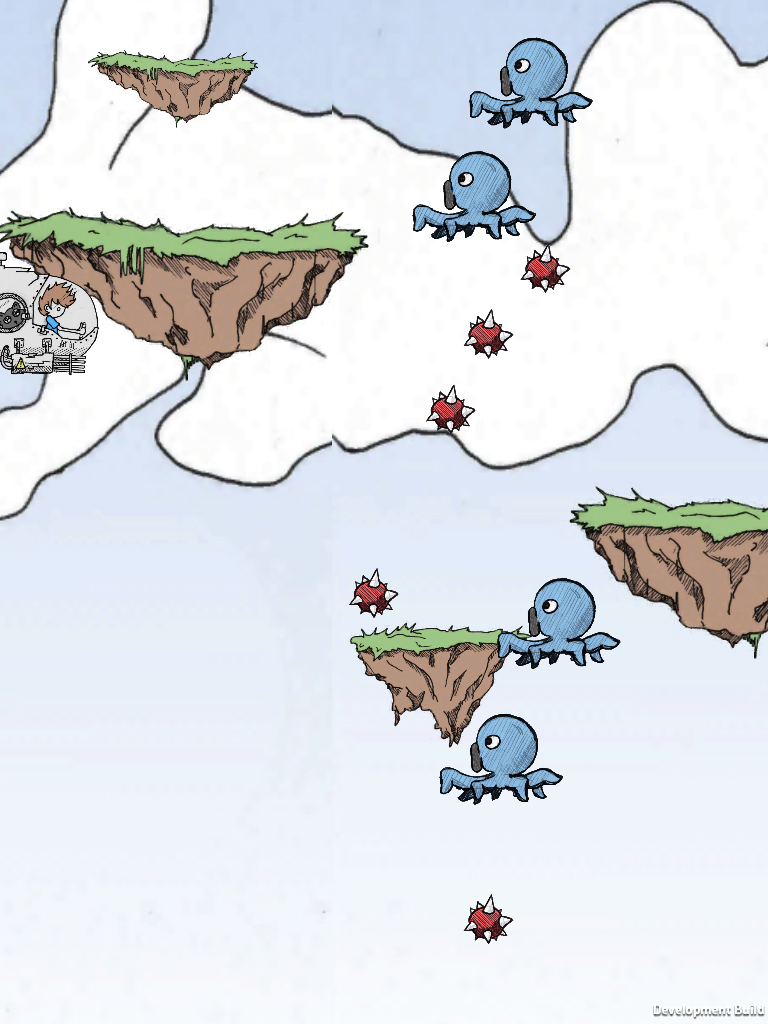
Try to start the game. It should be deployed on the simulator. For example, on an iPad:
It’s working!
Sprites are correctly displayed, the game is loading… But it is also unplayable, because touch controls are not implemented (except for the “tap” to fire that comes with the default input settings).
The resolution and the orientation are also not handled.
And finally, if you have a real device, you may discover that performances suck.
That’s why mobile is not easy: you need to optimize and tweak your game to get the best from it on smartphones and tablets.
Asset quality per platform
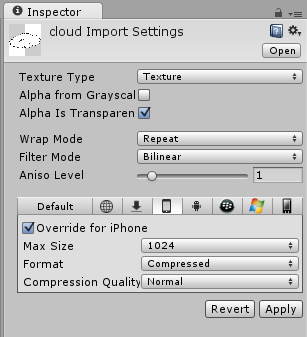
For some assets, you may need to specify a lower (or higher) quality for a given platform.
Look at the images, for example. You can lower the quality for mobile devices but keep it higher for desktop computers.
You need to keep in mind that there is going to be a tweaking and optimization phase at the end of your development.
Next Step… Oh wait.
That’s it. You’ve made it. The development is over. You probably don’t feel ready to make a full 2D game but you are. You need time and dedication now.
Go next to read the final last steps. :)

