Menus - loading and restarting the game
We have finished our first level with a basic gameplay, some sounds, graphics and particles.
However, when the player dies, the game continues to run and it’s impossible to start again. Moreover, when you launch it, you start directly. We are clearly in a situation where we need some menus to control the game.
Damien: let’s say it immediately: menus and GUI are no fun in a game. You usually have to use a very basic GUI framework (or no framework at all).
It takes a lot of time and the result is just… menus that players will skip as fast as possible.
Matthieu: unlike many game developers, I disagree with the previous statement. Creating a good game GUI is not an easy task, but it can be rewarding and interesting. However, creating menus requires good tools and some sensible design decisions (like for an app interface).
But yeah; a good menu must be invisible and the players should not even notice it exists.
Since Unity 4.6, the UI tools (aka “uGUI”) has been updated and are now quite good to make fancy menus.
We have no ambition to create a complex GUI for this tutorial, but we will see the basics.
Assets
Background

(Right click to save the image)
Logo
![]()
(Right click to save the image)
Import those assets in the project. You can put them in a “Menu” subfolder of “sprites”. Otherwise “background” will erase the previous game file.
For the buttons, we will use the standard ones.
Title screen
Nearly all games have a title screen. It’s where the player lands when starting the game.
Damien: some are just awesome and memorable: Megaman, Metal Slug… (I’m a big fan of title screens).
What we are going to create will not be that awesome, but… simple!
Scene
First, create a new scene:
- “File” -> “New scene”.
- Save it in the “Scenes” folder as “Menu”.
Tip: you could also press the cmd+N (OS X) or ctrl+N (Windows) shortcuts.
Our title screen will be made of:
- A background.
- A logo.
- A script that will display the buttons.
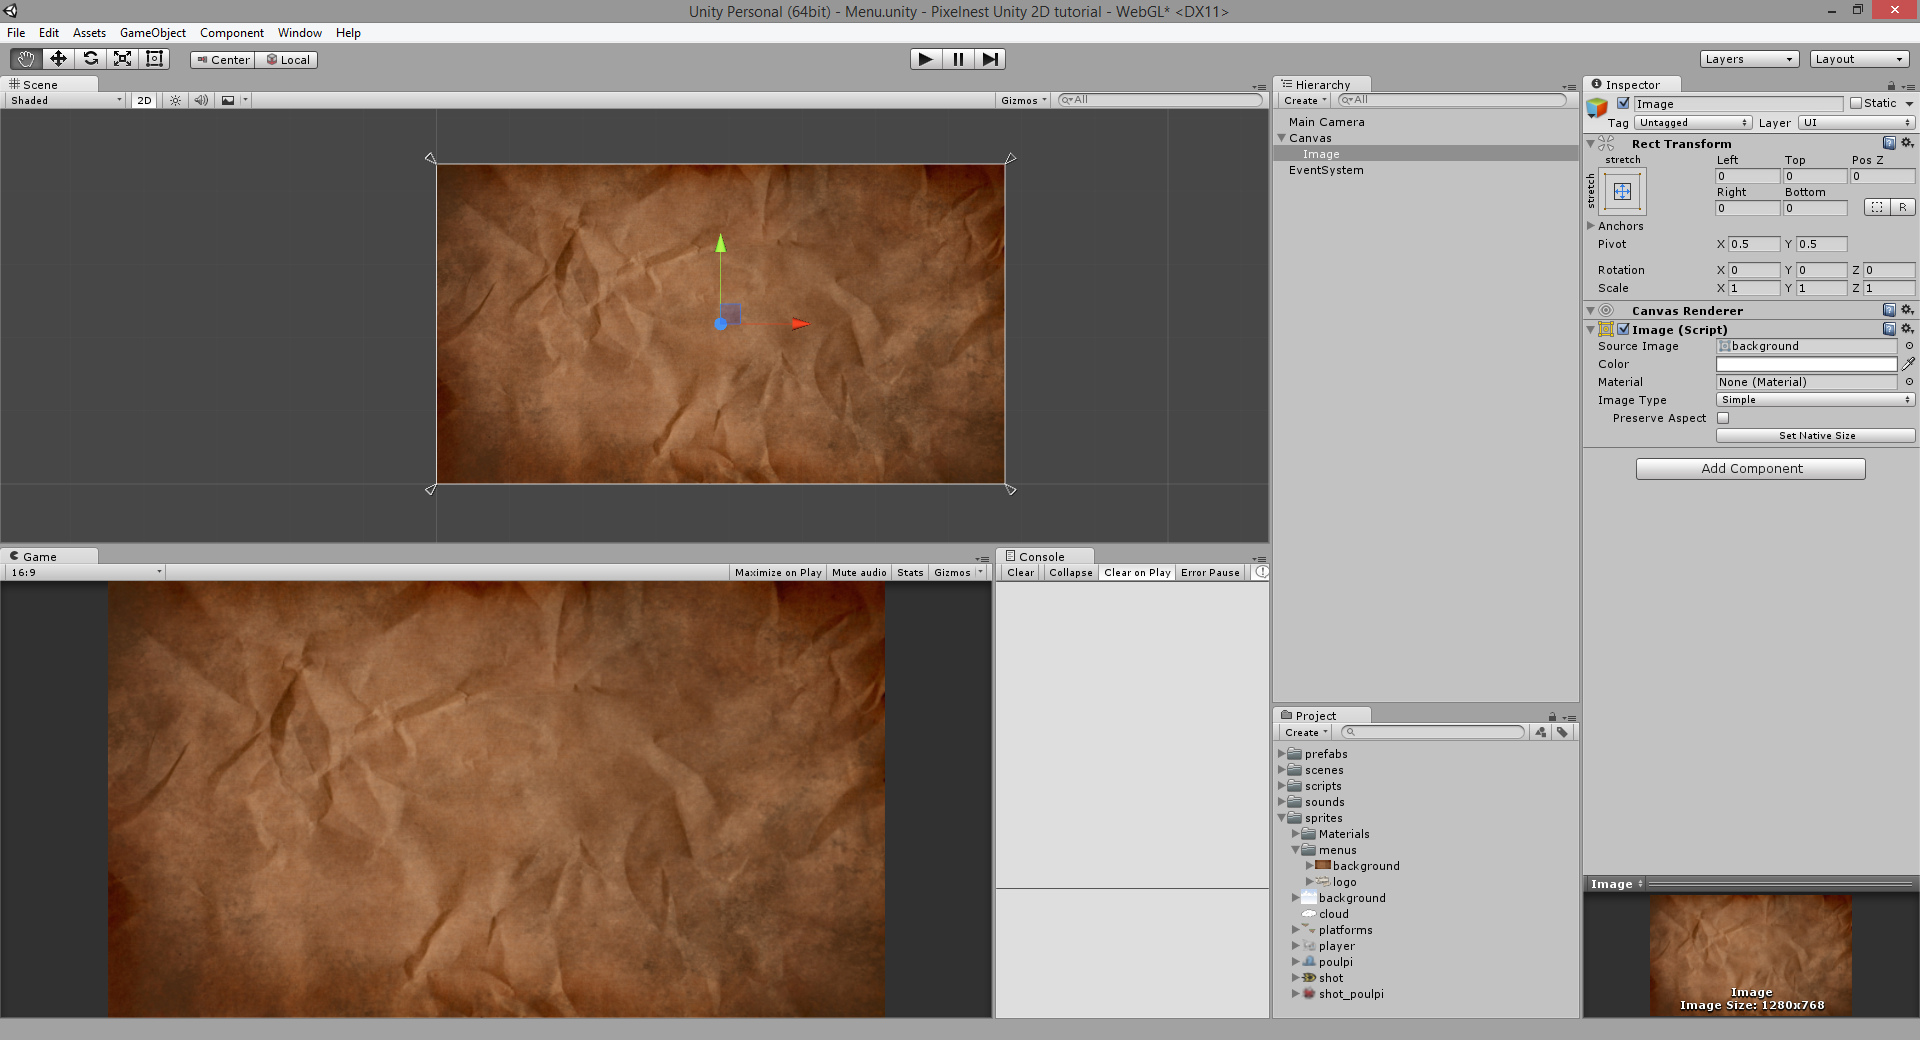
Let’s create the background. Use the dedicated menu “Game Object” -> “UI” -> “Image” so Unity will create all the required objects and components.
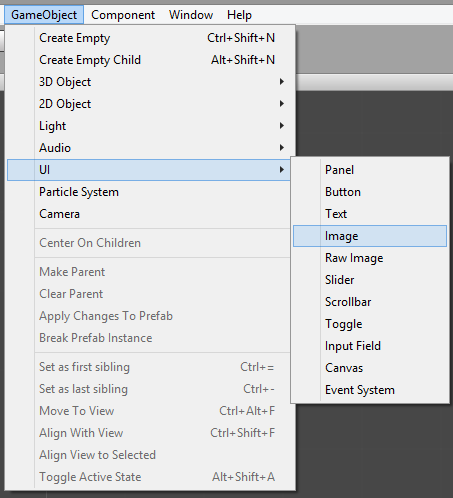
- Affect the menus’ background sprite to the newly created UI object
- Change the anchor to horizontally & vertically stretched:
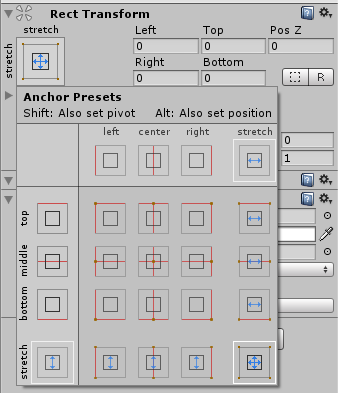
- Make sure “Top”, “Bottom”, “Left” and “Right” are set to
0
You should have a fullscreen background, no matter what resolution you are using.
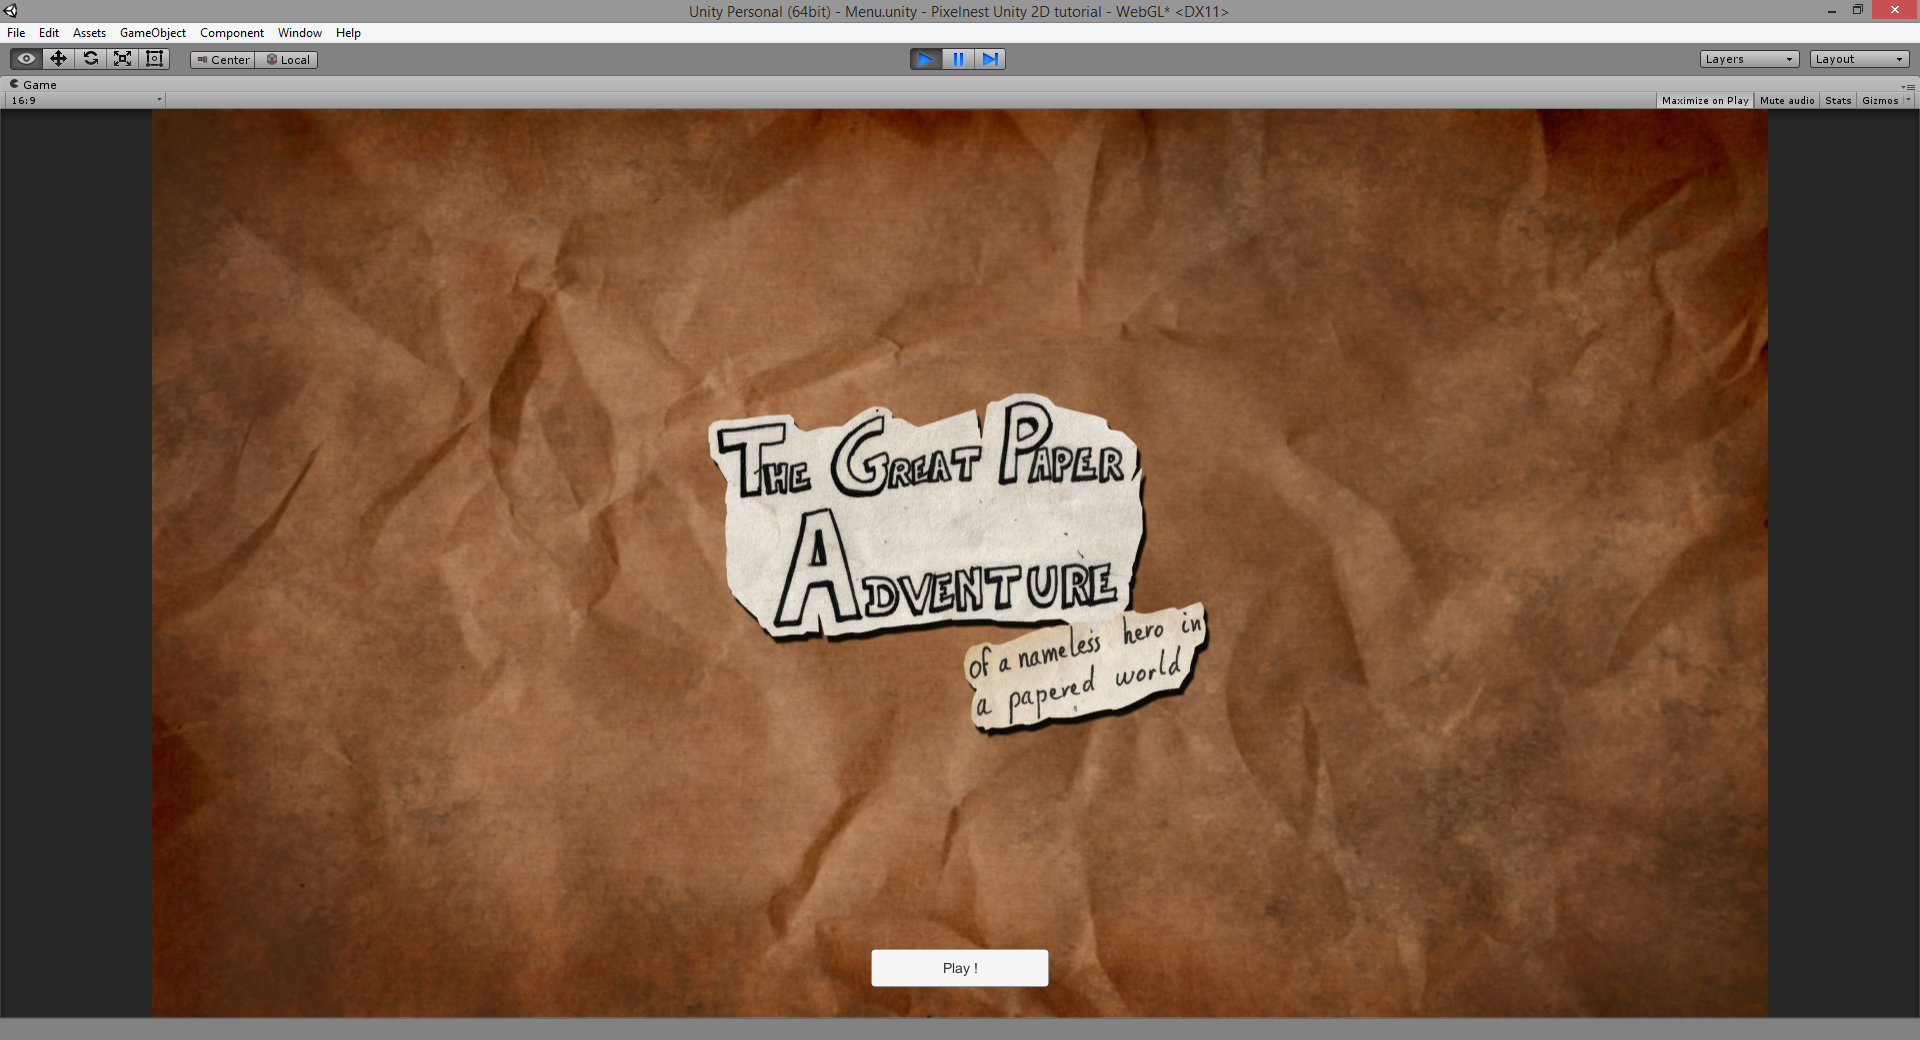
Now, similar to the background, add the logo:
- Set the size to 512x512
- Tick “Preserve ratio”
- Set the anchor to” middle & center”:
![]()
Of course, you can add your name, instructions, jokes and animations. Menus are a land of freedom. Just keep in mind that a gamer wants to play as quickly as possible.
Loading script
Now we will add a button to start the game, via a script.
Use the menu to create a new Button (“Game Object -> UI -> Button”). Place it on the menu, change the text… experiment! :)
Here’s what we have:

Create a new “MenuScript” in the “Scripts” folder, and attach it to a new empty game object (called… “Scripts”? Just saying.):
using UnityEngine;

/// <summary>
/// Title screen script
/// </summary>
public class MenuScript : MonoBehaviour
{
    public void StartGame()
    {
        // "Stage1" is the name of the first scene we created.
        Application.LoadLevel("Stage1");
    }
}
One last step: we need to wire the button to the script.
On your button, locate the “OnClick()” list.
- Use the “+” button to add a new listener.
- Drag the “Scripts” object to the newly created line.
- Change the called function to
MenuScript.StartGame().

Then, launch the game and watch our wonderful menu:
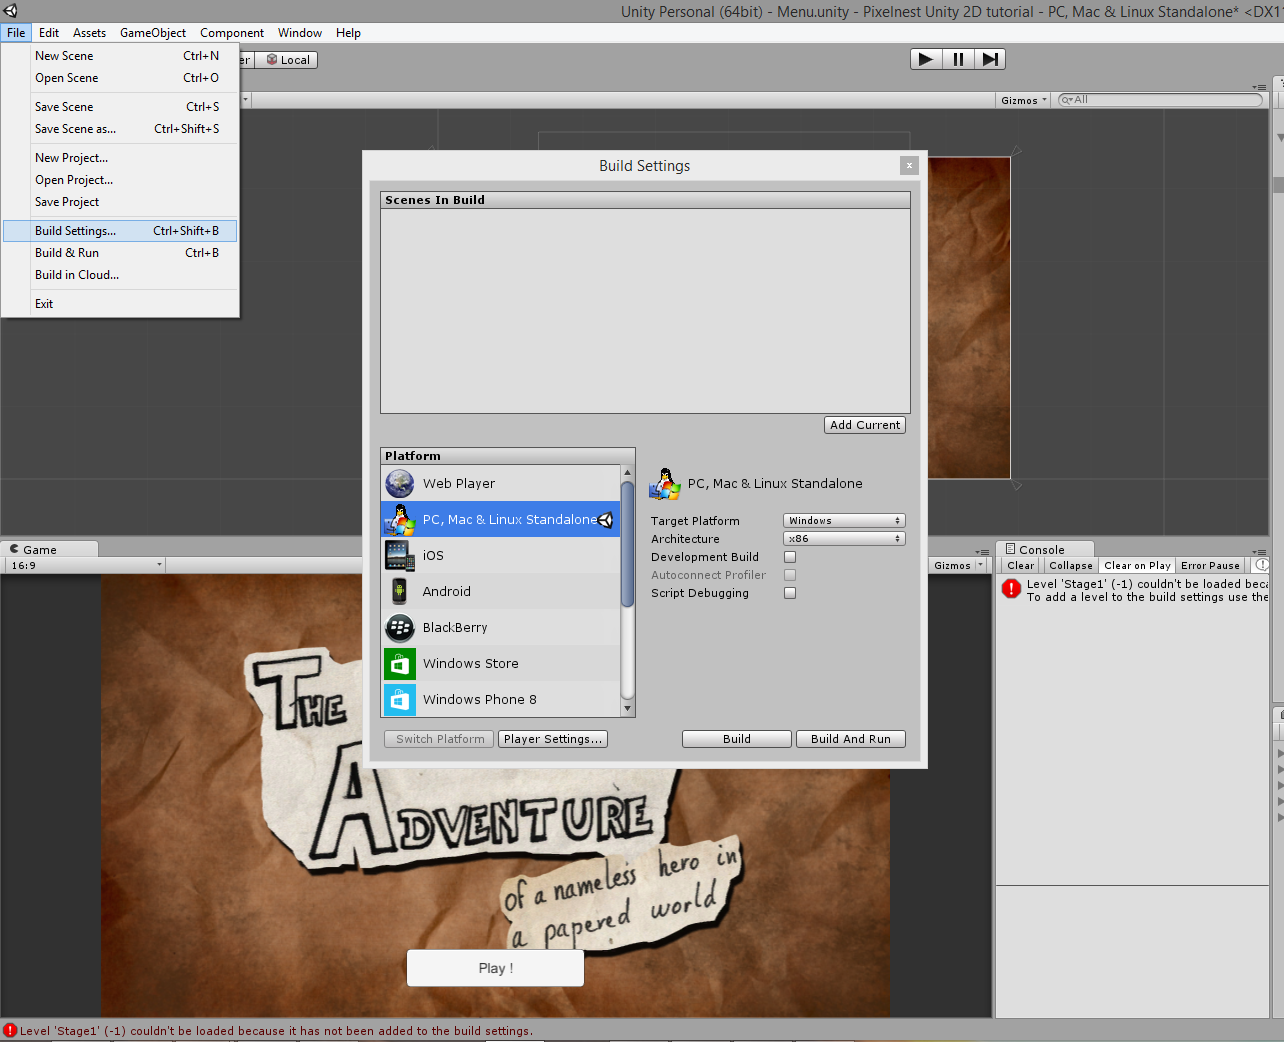
Click and… Crash!
Level 'Stage1' (-1) couldn't be loaded because it has not been added to the build settings. To add a level to the build settings use the menu File->Build Settings...
What we need to do is clearly written in the error message.
Adding scenes to the build
Go to “File” -> “Build Settings”:
Now, drag all the scenes you want to package within your game. Here it’s simple: it’s “Menu” and “Stage1”.
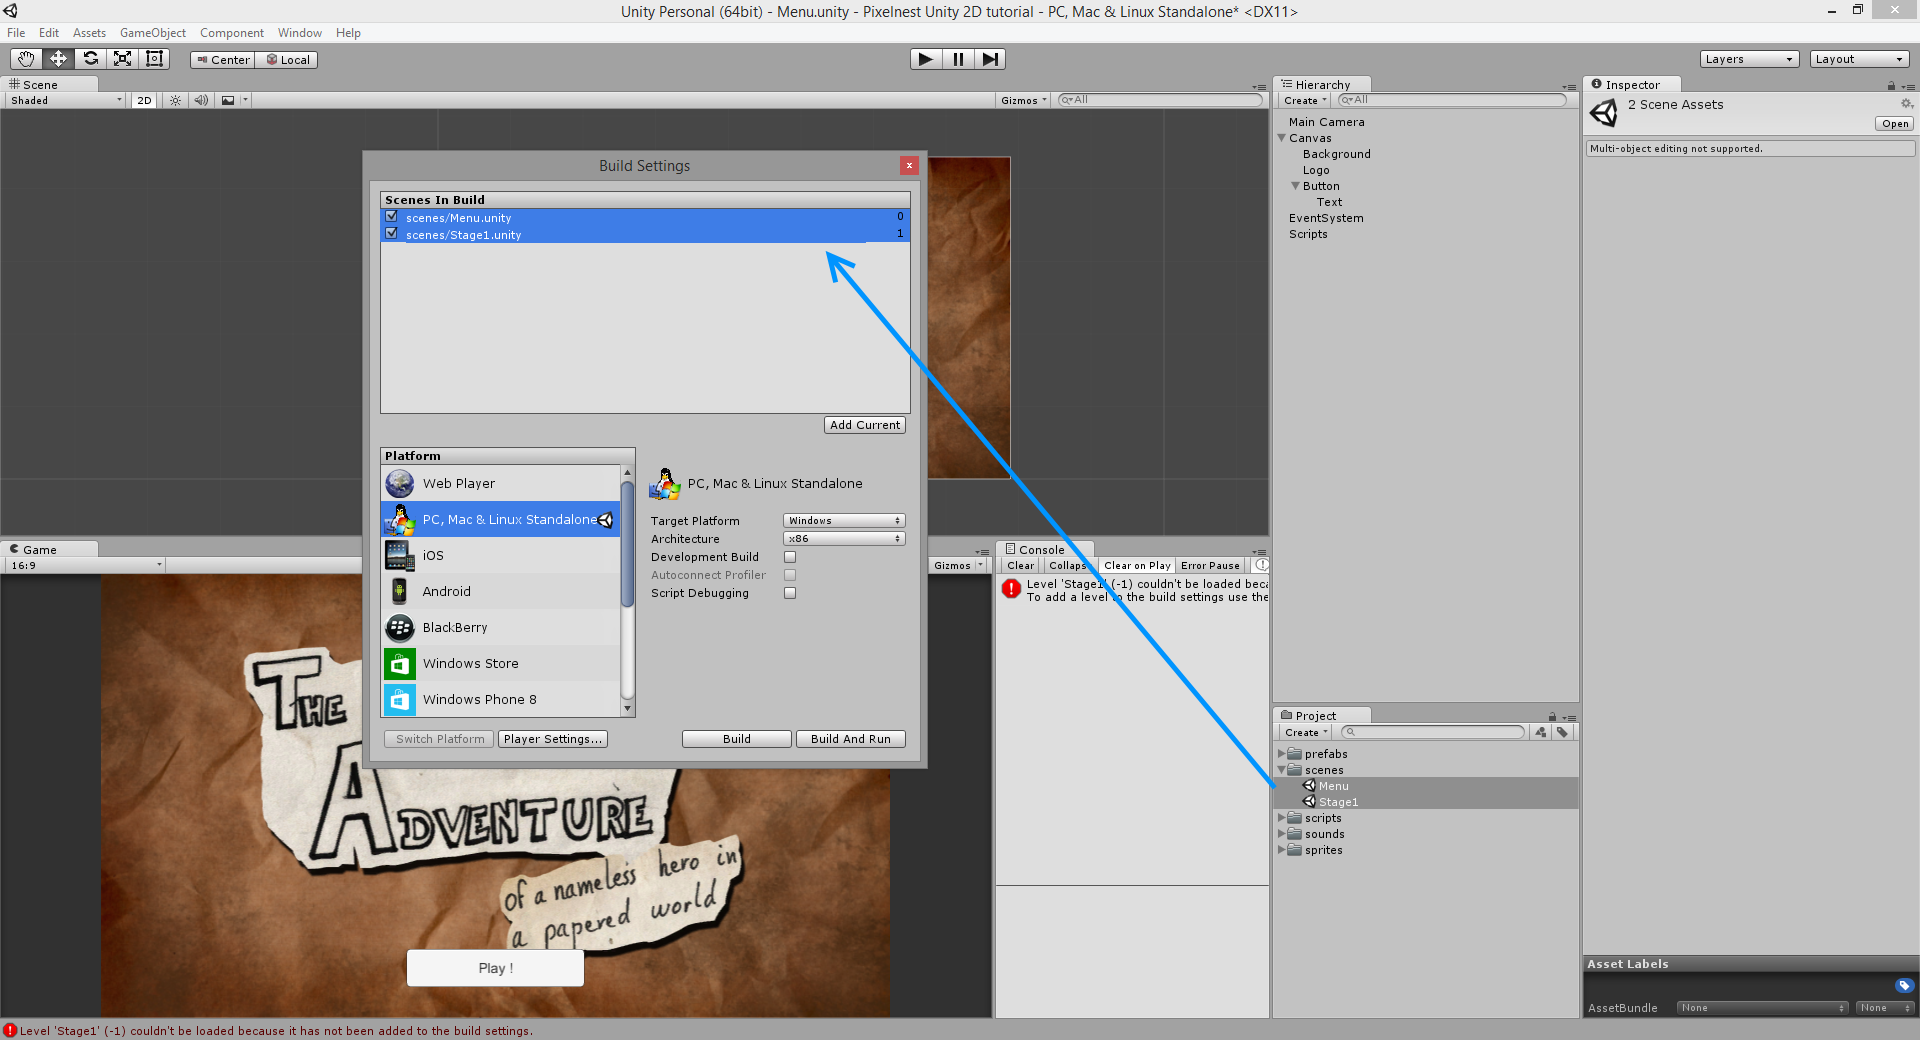
Back to the menu. Click and… Play!
Tip: the Application.LoadLevel() method job is to clear the current scene and to instantiate all the game objects of the new one. Sometimes, you want to keep a game object of a first scene into a second (e.g., to have a continuous music between two menus).
Unity provides a DontDestroyOnLoad(aGameObject) method for these cases. Just call it on a game object and it won’t be cleared when a new scene is loaded. In fact, it won’t be cleared at all. So if you want to remove it in a further scene, you have to manually destroy it.
Deaths and restarts
Finally, we will allow the player to restart the game once he died. And as you may have seen, it happens a lot (we will “simplify” the game in an upcoming next chapter).
Our actual game flow is:
- The player gets hit by a bullet.
HealthScript.OnCollisionEnteris called.- The player looses 1 health point.
- “HealthScript” destroys the player since he has less than 1 health point.
We will add two new steps:
PlayerScript.OnDestroyis called.- A “GameOverScript” is created and added to the scene.
Create a new “GameOverScript” in the “Scripts” folder.
It’s a little piece of code that will handle a “Restart” and a “Back to Menu” buttons:
using UnityEngine;
using UnityEngine.UI;

/// <summary>
/// Start or quit the game
/// </summary>
public class GameOverScript : MonoBehaviour
{
    private Button[] buttons;

    void Awake()
    {
        // Get the buttons
        buttons = GetComponentsInChildren<Button>();

        // Disable them
        HideButtons();
    }

    public void HideButtons()
    {
        foreach (var b in buttons)
        {
            b.gameObject.SetActive(false);
        }
    }

    public void ShowButtons()
    {
        foreach (var b in buttons)
        {
            b.gameObject.SetActive(true);
        }
    }

    public void ExitToMenu()
    {
        // Reload the level
        Application.LoadLevel("Menu");
    }

    public void RestartGame()
    {
        // Reload the level
        Application.LoadLevel("Stage1");
    }
}
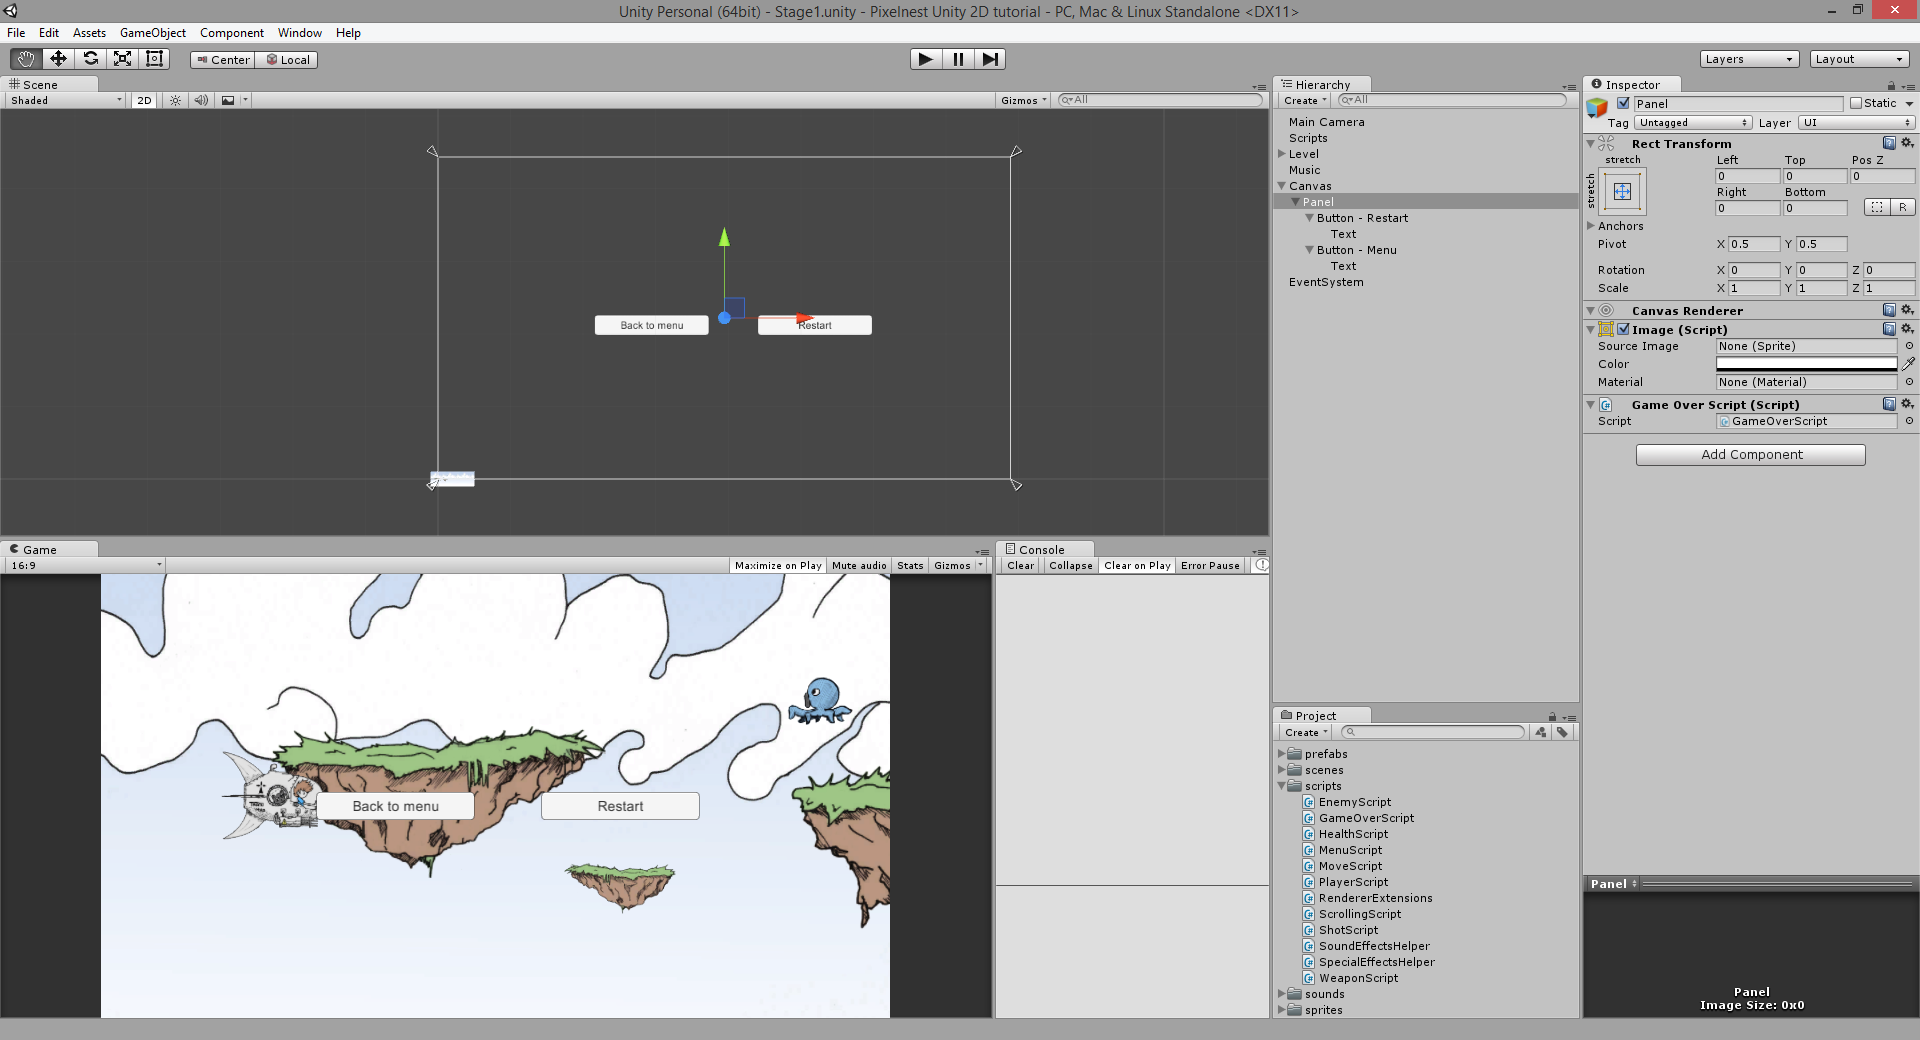
We also need some UI components.
- In the “Stage1” scene, create a “Panel”.
- Remove the “Source Image” and set the color to white full alpha.
- Add two buttons to this panel.
- Add the “GameOverScript” to the panel.
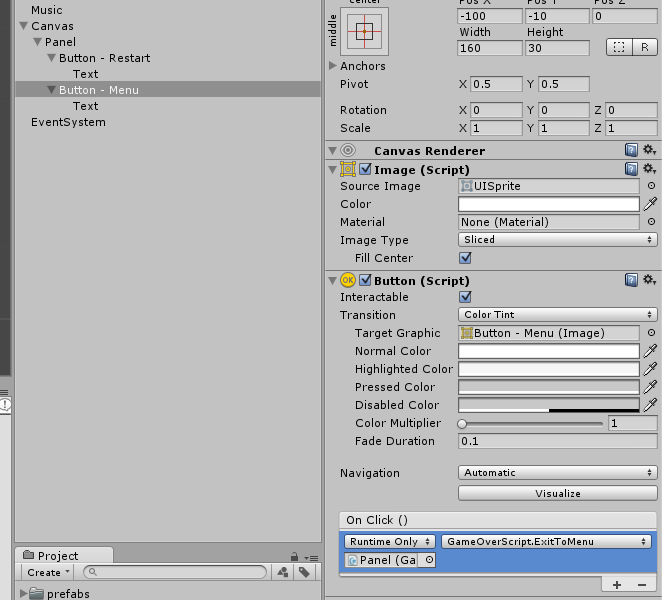
For each button:
- Wire the “OnClick()” event of the Panel.
- Select the appropriate method in the “GameOverScript”.
For example, the “Back to menu” button:
Now, in the “PlayerScript”, we must trigger this new script on death:
void OnDestroy()
{
    // Game Over.
    var gameOver = FindObjectOfType<GameOverScript>();
    gameOver.ShowButtons();
}
Launch the game and try to die (it shouldn’t take long):

Of course, this can be improved with scores and animations, for example.
But it works! :)
Next Step
We just learned how to make the menus for our game.
Look at what you have done until now :
- A parallax scrolling with 3 background layers.
- Lot of particles!
- A title screen.
- Graphics and sounds.
- A shmup gameplay with one player and multiples enemies.
Congratulations! But, unfortunately, it’s only on your computer. To sell this new award-gaining game, we need to distribute it.
That’s what we will talk about in the last chapter: deployment.
