Making animations with Unity 2D (1/2)
Although we have created an almost complete game in the previous chapters, there are still some ways to make it better. Great, that’s why we have these additional chapters!
Currently, there is clearly one area that we could improve on: animations.
Even if the visual style could justify to not use animations — after all we are using handmade drawings —, we will add a new super enemy, a boss, and create some animations for it.
In Unity, animations are made of a few things:
- Some animation clips defining keyframes for each animated property.
- An animation controller which is a state machine handling the transitions and order of all the clips for an object (or a prefab).
To lighten things a bit, we have separated this tutorial in two parts as there are many topics to cover.
Warning: this part of the tutorial has not been updated to Unity 5. There are some differences, especially about components access, but the features are the same.
The new sprite
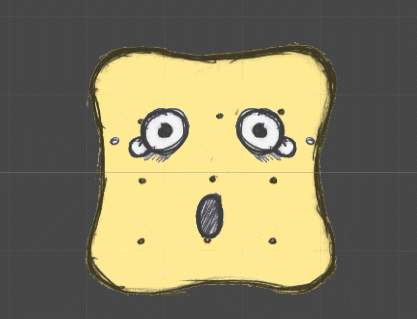
The sprite is made of multiple images: a body, the eyes and some additional stuffs.

(Right click to save the image)
- Import the image in Unity.
- Set its “Sprite Mode” to “Multiple” in the “Inspector”.
- Click on the “Sprite Editor” button.
Use the automatic slicing feature (a size of 32 should be fine):
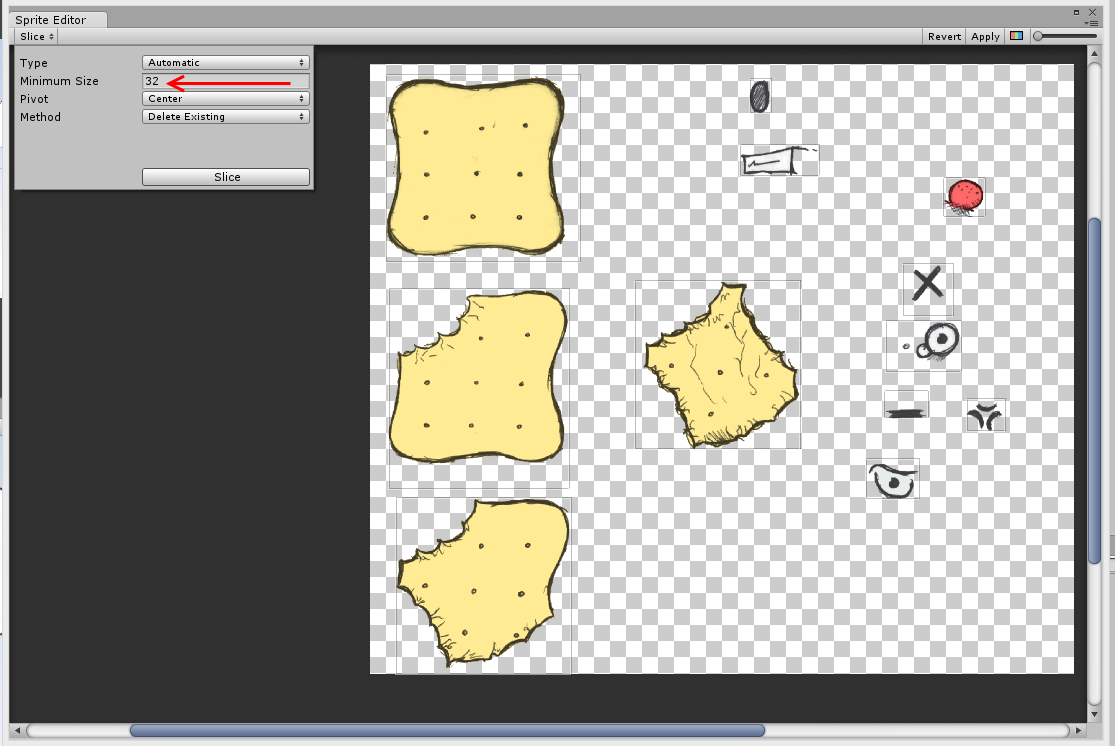
Remember to “Apply” the slicing.
Boss object
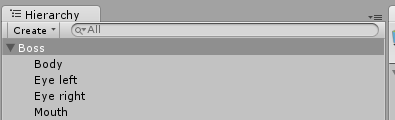
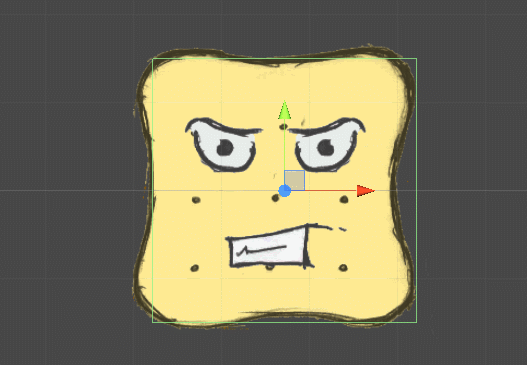
The boss object is made of four parts:
- A body
- Two eyes
- A mouth
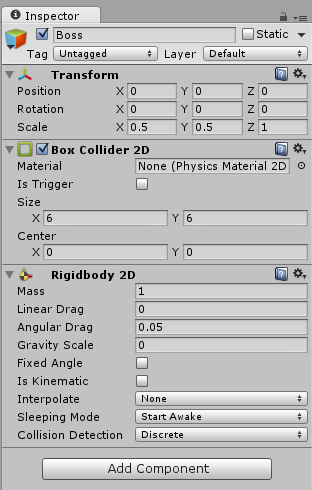
To have the proper configuration, create an empty game object. Then:
- Name it “Boss”.
- Add a “Rigidbody 2D” with no gravity/fixed angles.
- Add a “Box collider 2D” with a size of
(6, 6). - Set its scale to
(0.5, 0.5, 1). - This object does not display anything. That is why we don’t have a “Sprite Renderer” here.
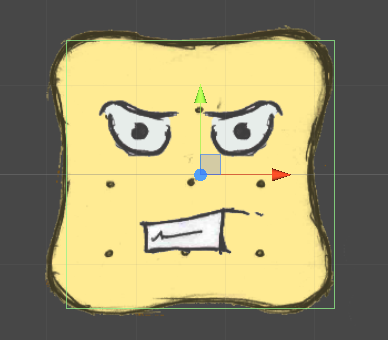
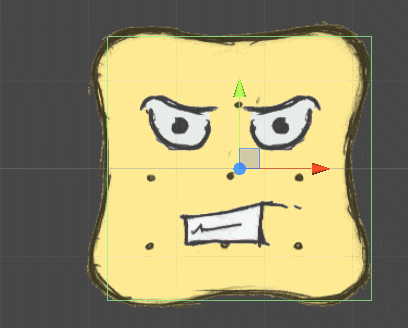
Create 4 empty game objects as children of the “Boss” object. For each one, add a “Sprite Renderer” and select the appropriate image (body, eye or mouth).
Change their position to get something like this:
With, as a hierarchy:
For example, the left eye game object has been positioned with the mouse in the editor. We’ve got:
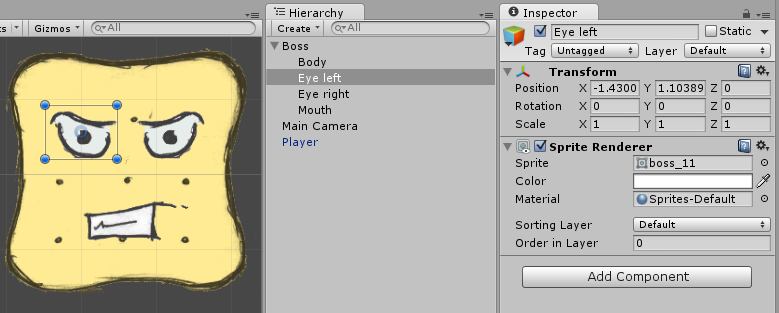
Tip: we only have one sprite for the eyes. We simply flip the other sprite to mirror the image.
To do that in Unity, set the scale to its opposite value. For example, here, we set the right eye scale to (-1, 1, 1). You can reuse this simple tip everywhere and even on the y property (mirror vertically).
Set the body object a bit deeper than the rest, to (0, 0, 1).
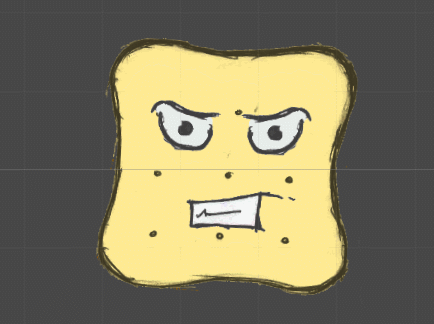
The 3D view will reveal our layers:
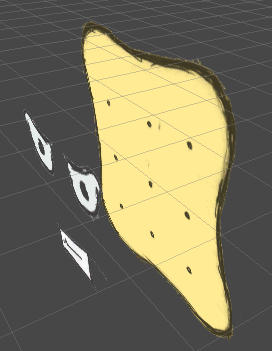
By using an object with multiple sub-sprites, we will be able to manipulate them separately.
Save the “Boss” object as a prefab. We are now ready to animate it!
The old-school manner to animate an object is to have a single spritesheet and change the whole image position every “n” seconds. It also works in Unity, but this is not the aim of this chapter.
Animation clips
We are going to create a few clips to define the states of our boss:
- Idle — just floating around.
- Attack — launching projectiles.
- Hit — being hit by a shot.
For this tutorial, we will describe the first animation with as many details as possible. Then we will show the others with a gif and we will let you reproduce them. It’s a good way to learn how to manipulate the animation tool.
And of course, you are encouraged to make them better. :)
Tip: when you are working on an animation, you should do it in an empty scene. This way, you can clearly see what is happening and you don’t need to run the whole game to work (faster: no music and no scripts).
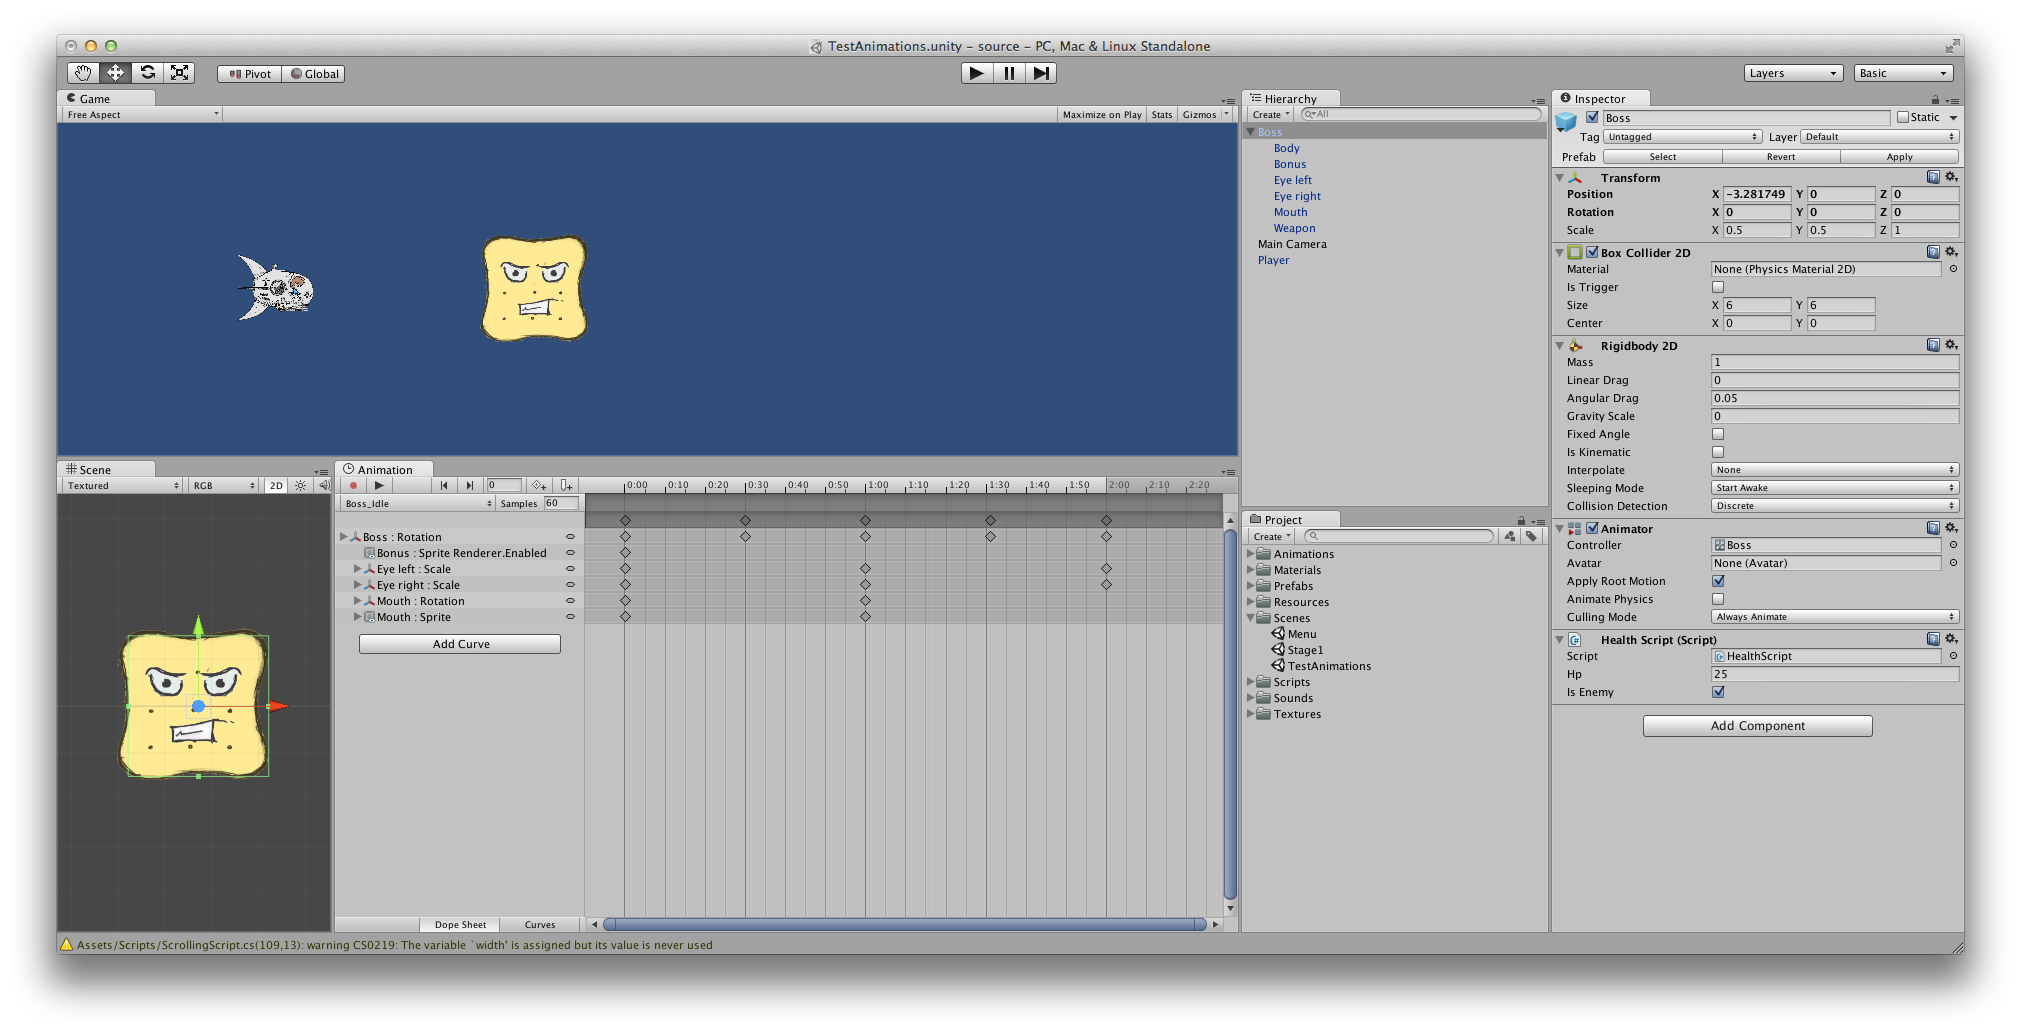
Here we will work in a scene called TestAnimations. This scene is just for designers and should never be included or launched in the final project.
Idle animation
Creating a new clip
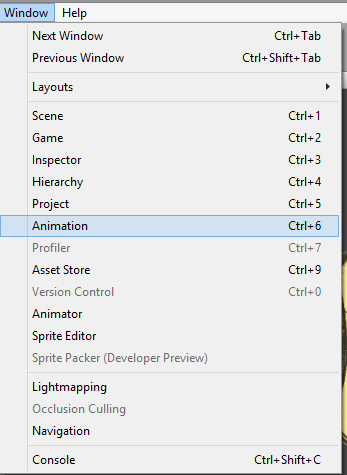
Open the “Animation” window (not “Animator”!):
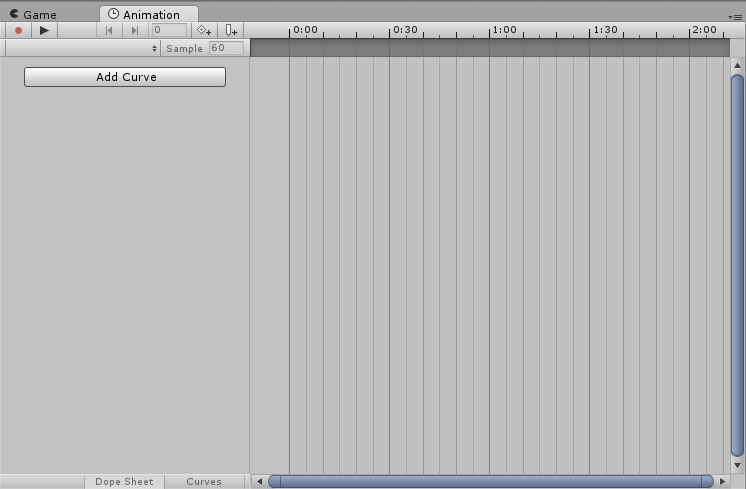
A new window should be displayed:
Select the boss object in your scene (instantiate it if necessary, you can’t work directly on a Prefab).
Now, create a new clip. The option is available in the animation list:

Create an “Animations” folder, and save the new clip as “Boss_Idle”. The clip is now selected in the animation pane.
New clip: in fact, by using the “Create New Clip” button in the animation view, Unity do three things.
First, it creates an “Animator Controller” for the selected game object (the boss here). Then it adds an “Animation” on this animator. An “Animator” is also added to the game object as a component (the “Animator” component references an “Animator Controller”). If the game object already has an “Animator”, it simply adds the animation to it.
Look in your “Animations” folder: there’s also a “Boss” animator near your “Boss_Idle” animation. We will talk about that in the next chapter. For the moment, don’t touch it.
Adding keyframes
To start working on the clip, click on the “Record” button (the red dot) in the top left corner of the “Animation” view. Now, everything you will do in the scene for this object (the boss) will be recorded as a keyframe on the animation.
Attention: clicking on the timeline or on the time ruler will also trigger the “Record” button. Be careful!
This behavior is handy when you want to work quickly: just click on a time and do your changes (the record starts when the red line marker appears on the time).
A keyframe is a set of values for a precise time moment.
To add a keyframe:
- (You can click on the “Record” button.)
- Select the time by clicking on the time ruler. It should move the selector (a red line).

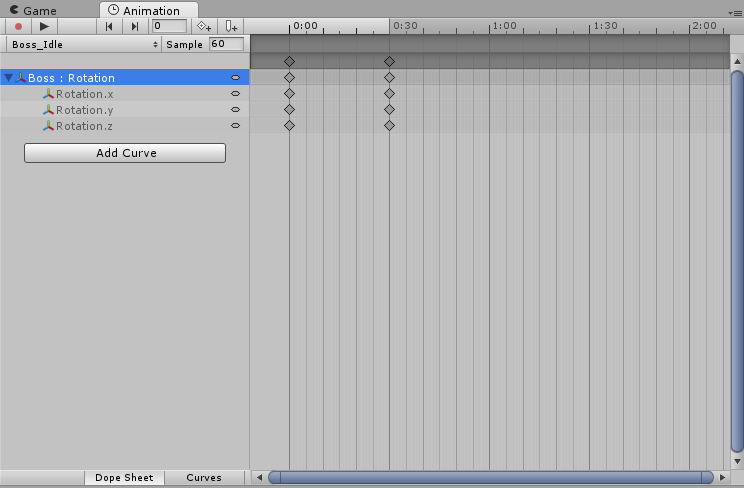
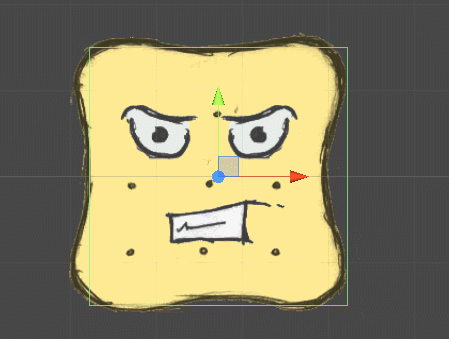
Select the “Boss” object in your scene. At 0:30 change its rotation to (0, 0, 30).
Rotation: in your “Scene” view, if you put your mouse near an handle of an object, you will see that the mouse pointer change. By holding and dragging the mouse, you can alter the rotation of the selected object.

You can see that a keyframe has been created:
Hotkeys: the alt key can be used to move the timeline. Your mouse wheel can be used to zoom in or out where your pointer is.
If you press the “Play” button of the “Animation” view, you will see the animation in the “Game” or “Editor” pane:

That’s a start! The boss looks stupid, so we will add two new keyframes:
1:00- “Boss” object rotation of(0, 0, -30).1:30- “Boss” object rotation of(0, 0, 0).
Now, the animation can loop smoothly (because the rotation is the same at the end and at the beginning).
In the editor, if you click on a value of a keyframe, Unity will activate the record mode and display the modified properties in red in the “Inspector”.
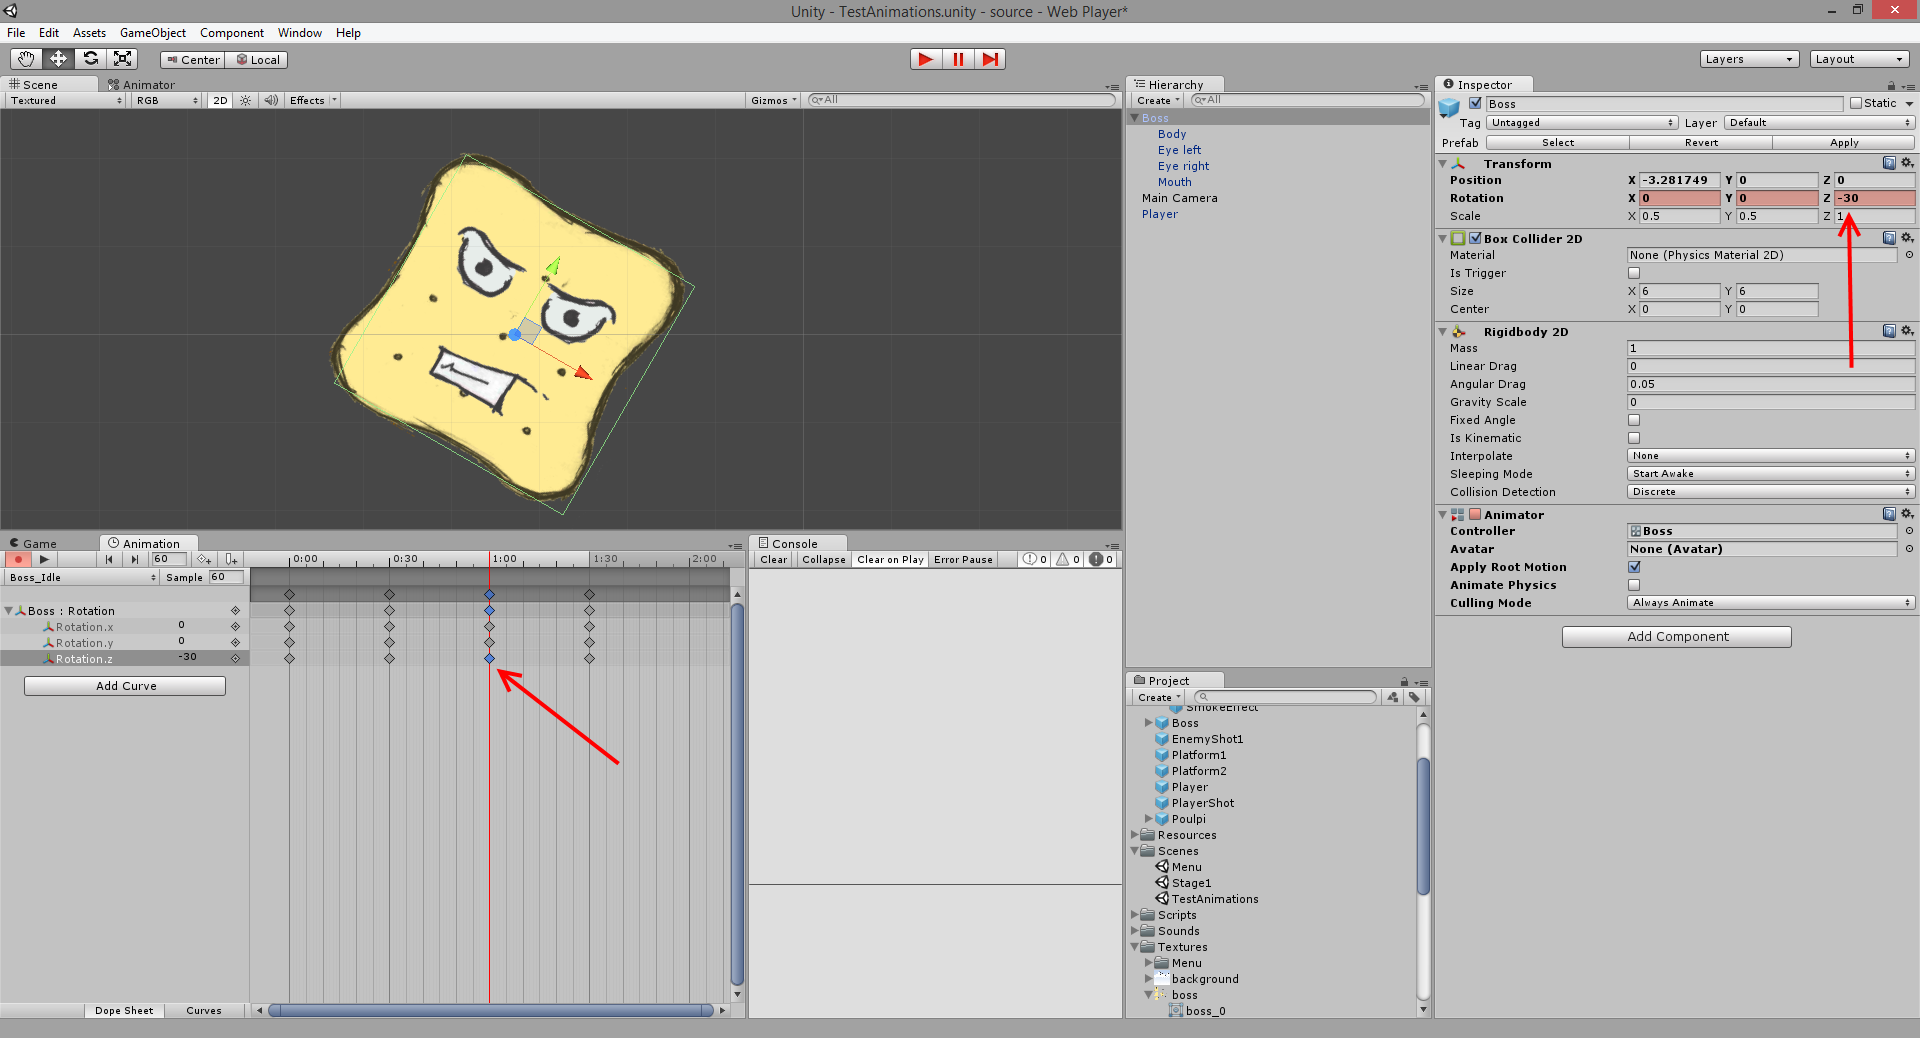
Changing a property of the “Boss” object: if you change a property of the parent object (the “Boss” object here), be extremely vigilant, especially with the “Position”.
For instance, if you change the “Position” of the “Boss” object in an animation, its real position in the scene is going to be changed for the one in the animation each time it is played. It can block an object.
Most of the time, you want to change the children properties and not the container.
Here we are working on the parent because we want everything to rotate together, but maybe we should have add an empty parent object on top of everything that is never animated.
Playing with curves
Between each keyframe, Unity uses a linear interpolation to deduce the intermediate values. If we say:
- Time
0:00, value0. - Time
0:30, value30.
Then Unity can deduce:
- Time
0:15, value15.
However, you may want a non-linear interpolation (starting fast and ending slowly for example). You have two solutions: You can add other keyframes in between, or play with the Curves.
This is a special tab that you can toggle in the bottom left corner of the “Animation” view:

Our current idle animation is looking like a regular sinusoidal currently:
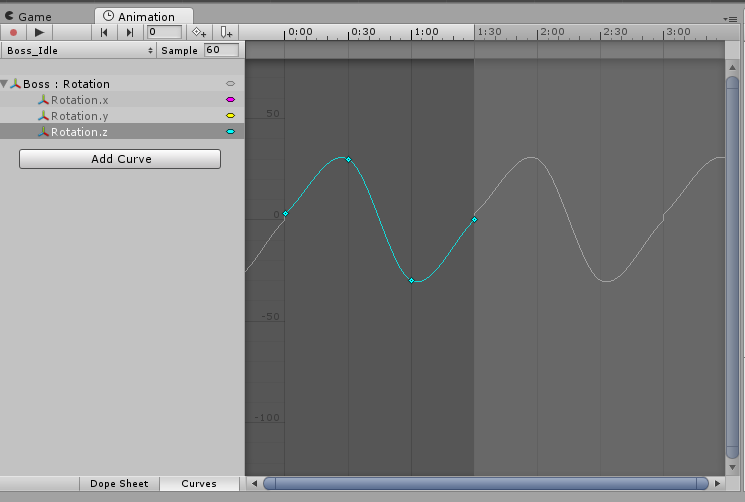
We can play with the curve by dragging the points. It will update the keyframes and their associated values. For example, if we mess the whole thing a bit:
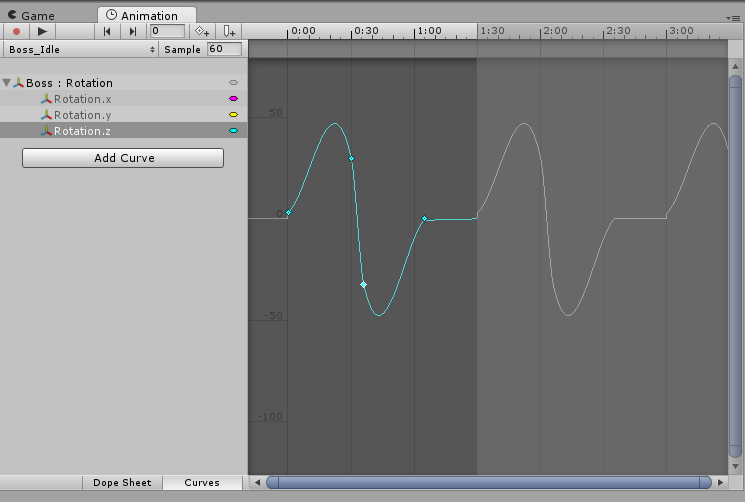
The animation doesn’t look the same: it’s way faster with a pause between loops.
Tweaks
We just made an animation using the rotation, but you can update every property of the object and its children. For example:
- You can update the position (do not do that on the container).
- Change the sprite (of a “Sprite Renderer”).
- Add or remove children.
- Enable or disable components.
- Update the collider size to make it fit the animation.
Now, it’s time for you to experiment! Here’s what you should have in the end:
Attack and Hit animations
For these animations, we will give an example of what you may achieve, but we recommend you to have fun and make your own. It’s a good opportunity to test what you have learned before.
Just make sure to name the clips “Boss_Attack” and “Boss_Hit”.
In your “Boss” Prefab, add a new sprite child called “Bonus”. This object will serve to display an additional image when we want. It should be hidden most of the time (like in the Idle animation).
Attack
The keyframes should look like this:
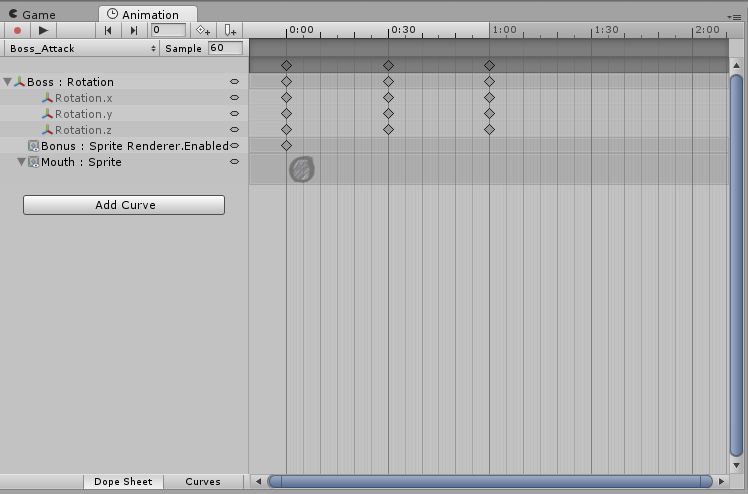
Observe the “Mouth” (another image) and “Bonus” (enabled) children.
Hit
It doesn’t look very good when looping, but the purpose is to have a quick animation played only once to respond to a player shot.
The keyframes:
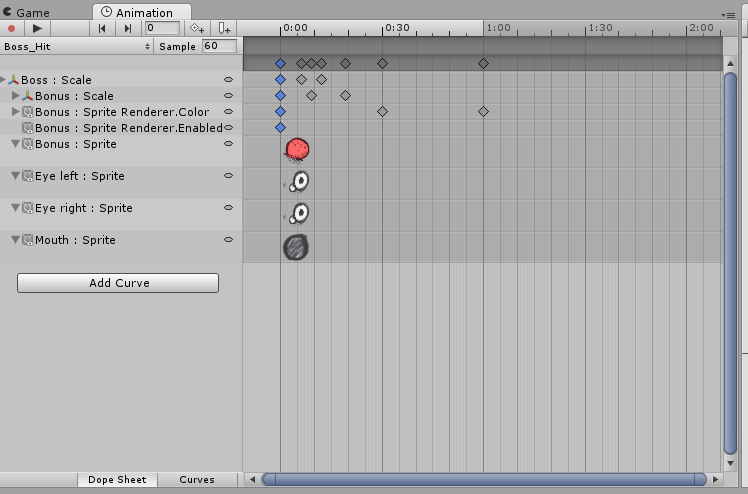
To disable the loop, click on your “Boss_Hit” animation in the “Project” pane. Then, uncheck “Loop Time”.
You can notice that it won’t change anything yet. You must start the game and look at the “Animator” window to see a difference.
Special layout
We recommend to use a dedicated layout to work on animations.
This one is particularly handy:
- The “Scene” is sitting near the “Animation” view. You can click on a sprite to select it and change it. If the animation view is recording, you will see a new key added on the timeline everytime you change something.
- The “Game” view is always visible and will show the animation when you click on the “Play” button of the “Animation” view (no need to launch the game).
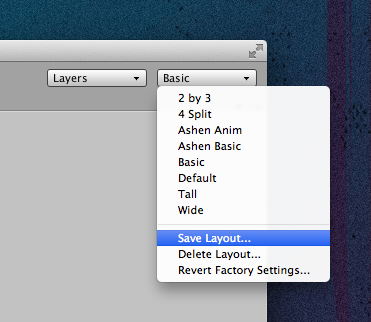
Do not forget to save the layout for future uses.
Next Step
We have learned how to create some animation clips for an object. Now, we need to integrate them in the game.
In the next chapter, we will see how to combine the different animations and call them with our scripts. To do that, we will use the other animation view: the “Animator”, which represents the “Animator Controller” states machine of an object.
Mecanim: the 2D animation tool is based on the already existing Mecanim system.
